Understanding the Vacuum Crunch Technique
If you’ve perfected vacuums and you’re looking for the next step in terms of progressive overload, I have an awesome exercise for you today. We’re going to do a deep dive on the vacuum crunch.
Why do I love vacuums so much? Well, it’s because it trains the internal girdle, or the TVA, which is the transverse abdominis. This musculature lies under the rectus abdominis, or that six-pack, and it actually runs parallel.
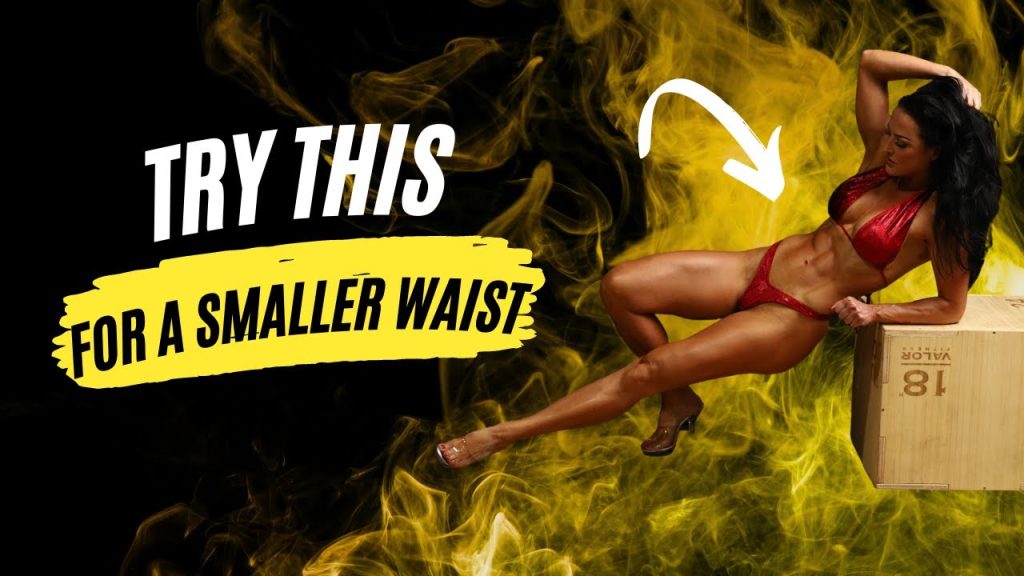
So when you strengthen it, you can actually tighten those muscles and kind of cinch in your waist. You can lose up to an inch or two inches, maybe, depending on how strong your TVA is to start with.
The benefits of this are amazing: you’ve got a smaller waist circumference, a tighter core, and injury prevention as it strengthens the core. It can also help you with breathing.
If you’re not familiar with the vacuum exercise or you haven’t quite perfected it yet, it’s totally fine. If you want to check out a vacuum progression tutorial, I’ll leave a link to the video at the bottom of this post.
It’s super simple to get started, and you’ll typically see results within just a few weeks of starting this progression.
How to Perform the Vacuum Crunch Exercise
For any type of vacuum, I recommend doing it two or three times per week, typically first thing in the morning.
For the vacuum crunch exercise, you probably want to start it at the beginning of your workouts, just because it does require a little bit of breath work, and we’ll go through that as we go through the exercise.
Now, this is a gym-based exercise, but if you have a door option where you can attach a band to the top of a door frame, then you would be all set at home too.
I love this as an at-home variation because, as you’re using the band, the more you crunch, the more resistance you get.
I love the cable too because it gives you constant resistance. To get started, you’re going to need a high pulley cable rope attachment, and you can either use a squat pad, a towel, or a yoga mat to kneel on.
Now, with the gym floor, it really just depends. If the gym floor is carpeted, you might get away with no yoga mat for this variation, but you know, I like to think I’m tough but concrete on the knees doesn’t sound too good.
Maximizing Results with the Vacuum Crunch to Get A Smaller Waist
- You want to set up your yoga mat right below that high pulley, maybe a little bit behind, just to give you a nice range of motion.
- Set the weight nice and light so you don’t want to go too heavy on this exercise.
- Grasp the rope with an overhand grip, and you can either hold the rope just in front of your face or you can kind of put it behind your neck, not holding onto your neck.
- Get into a kneeling position, and I like to put a slight round in the lower back, and this is just going to help with engaging the abs.
- Before you get started, think about a nice inhale and then an exhale so you can pull in your waist.
- Think about pulling in your belly button to your backbone and getting that nice vacuum contraction.
You’re going to do as many reps as you can without breathing, then you’ll pause just briefly, do a nice inhale, exhale, and repeat.
In terms of sets and reps, I typically will do two to three sets of 15 to 20 reps, so you can build up to it.
If you can only do, let’s say, 8-10 reps to start, then you know you can work on progression from there.
So, feel free to do as many reps as you can, really re-engage that TVA, get that nice contraction, pull your waist in tight, and think about crunching and engaging both the rectus abdominis and getting that isometric squeeze of the transverse abdominis with that vacuum.
It’s really a combination of two exercises in one, where you’re training your transverse abdominis and you’re also training the exterior muscle, the six-pack muscle.
So, if you want a little extra pop in those abs, then you’re gonna love this exercise.
Now, I like to keep constant tension as I go through this move, so I’m going to make sure I keep that slight round in the lower back and keep the tension on the abs as I go through the exercise.
Now, in terms of recovery in between sets, you’re looking at a minute to two minutes, however long it takes you to really catch your breath and get your heart rate down just a little bit, so you can hold your breath on the next set.
What do you think of the vacuum crunch? Have you ever tried it?
We can do a deep dive on basically anything, so let me know in the comments below.
What exercises would you like to see next?
Until next time, TRAIN HARD! 💪
Here is the vacuum progression tutorial if you want to watch that video as well.
Do you know someone who might like this vacuum crunch exercise? Share it with them by choosing your social options below…


