Build Muscle and Reduce Body Fat With This Arm Workout
Video below…
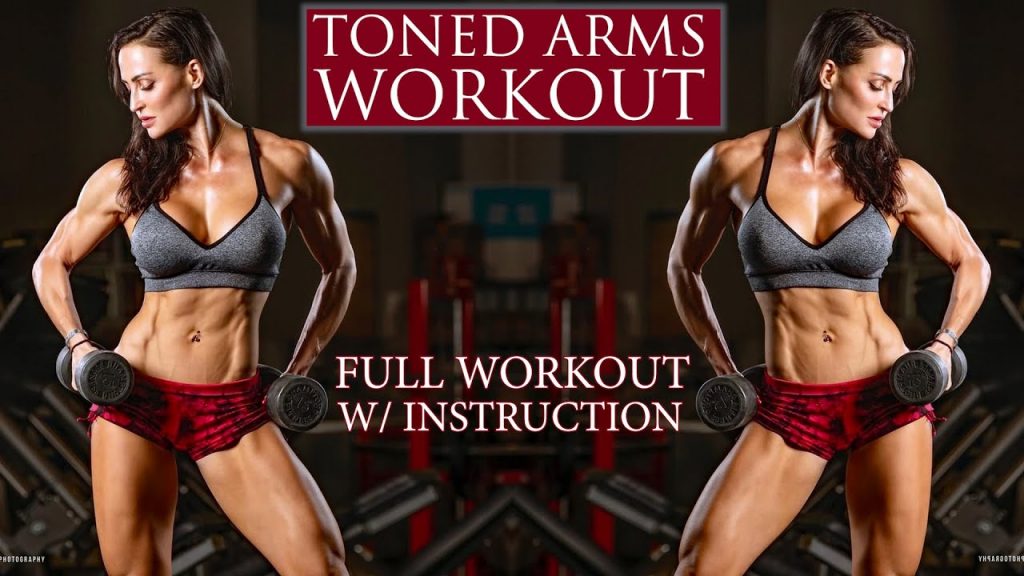
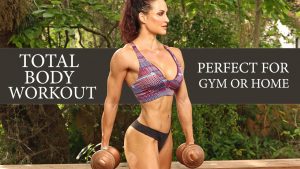
It’s been a while since we’ve done an arm workout, so I wanted to take you through some of my favorite exercises for building beautiful, 💪shapely arms.
I do get asked quite often, “How do I tone my arms?”
FITNESS TIP: If you’re looking to tone a muscle or a muscle group, keep in mind it’s a function of a couple of different things. We’re looking to build the underlying muscle that’s going to give you that shape, firmness, and fullness.
If you’re looking for tone and definition, it’s also going to require you to be at a certain level of body fat.
So, if you have a little bit more than you’d like, reducing that body fat percentage is going to help with overall tone, definition, and help you see those muscles a bit more.
This workout can definitely help tighten everything up. If you think about it, it’s kind of like a one-two punch: build muscle, reduce body fat. If you like these workouts and want more, and want to put them all together, I do have programs. So, check out aaronsternfitness.com to see more.
Without further ado, let’s get in the gym and train.
1. Our first exercise is concentration curls.
I’ve got the bench up to an incline of about 60 degrees and I’m starting with the non-dominant arm, so I’m starting with my left arm. I’ve got my right leg forward to help stabilize, and my upper arm on the bench, but I’m pulling back slightly.
This helps take the front delt out of the equation a bit more. With this exercise, it’s very important that your shoulder, elbow, and wrist are in a perfect line. If you need to take your hand and place it on the inside of your elbow to ensure everything stays in line, that’s okay.
Take your time with the negative or eccentric portion of the exercise, and when you curl upwards, pull the dumbbell to just before perpendicular. This keeps constant tension on the biceps. Now, when you switch sides, remember: perfect practice makes perfect…
You’ll ensure that your upper arm is in the same position, everything is in alignment, you’re pulling back just a bit to keep the shoulder out of the equation, and you’ve got the opposite leg forward.
Your wrist should stay straight. At the bottom, bend the wrist back slightly, then curl it forward as you pull towards the top.
Also, wrap your thumb around the dumbbell to engage the bicep. As you get tired, it’s okay to spot with the other hand.
2. Next, we’ll move into an incline push-up.
I love this exercise for triceps.
Yes, it is easier than a typical push-up, but you’re using a closer grip. Your hands will be closer than shoulder width apart, placed on the edge of the bench, with your body in plank position.
It’s crucial to keep your elbows close to your sides and really focus on engaging and squeezing the triceps at the top of the rep. Your head and neck should stay neutral, and the weight should be through your toes.
This exercise is similar to a tricep push-down, but you’re using just body weight, so you can control the tension.
3. Next, we’ll move on to the French press.
Typically, I like using an easy bar, but for this workout, we’re using dumbbells.
The incline is set to about 60 degrees again. Think about extending the arms back, ensuring that left and right are mirror images of each other. Keep your elbows close to your head and your wrists straight.
Again, I’m wrapping the thumbs around the dumbbell. The entire time, I try to maintain the upper arm in the same position, so your hinge point is your elbow. If you start moving the upper arm, you’ll engage the lats more and it won’t target the triceps as effectively.
Think about keeping the upper arm immobilized, with your feet flat on the floor and your back flat, avoiding any momentum.
4. The next exercise is a cross body curl.
With this exercise, I prefer to keep my arms extended throughout, which I find helps target the outer head of the biceps. If you’re aiming for beautiful curves with nicely rounded cap delts, and you want that arm curve, it’s going to be a combination of building up the bicep and, of course, the triceps.
This exercise really helps bring out the curve of the arm. Maintain constant tension, alternating from left to right. Your upper arm should be immobilized, using the elbow as a hinge. Try to keep the rest of your body as still as possible.
5. Alright, we’re moving into dumbbell kickbacks.
For this exercise, it’s essential to keep your body still. I’m using light dumbbells and keeping my upper arm parallel to the ground. I let the arms go back but slightly outward, and you can adjust your wrist positioning. The most crucial aspects are to keep your feet shoulder-width apart and immobilize your body.
Finish Off Your Arm Workout With Finisher Burnout Exercises
Now, we’re getting into our arm burnouts, which are our last two exercises.
6. We have the partial curls…
Sit on a bench with your back perpendicular to the ground and your legs extended slightly. Partially curl as many reps as you can in just one set, extending your arms to lightly touch the tops of your quads, and keep going until you’re done.
7. Next, we have diamond push-ups as a burnout…
This is also just one set, where you do as many reps as possible. Keep your body in plank position, your elbows close to your body, and your shoulders away from your ears. Try not to shrug and focus on moving your body using only the triceps. As you tire, you can drop to your knees to finish strong.
There’s nothing wrong with doing a burnout set this way. If you aren’t strong enough yet, you can do the entire burnout in this modified position.
*When you’re training arms or any other muscle group and you’re doing isolation or single-joint exercises, you can keep the recovery to a minimum.
With these exercises, you’re looking at about 45 seconds between each set.
This approach helps keep your heart rate up and ensures you spend less time in the gym.
If you enjoyed this post and/or video, please consider joining my free FIT Fam Letter so you can get a weekly email filled with my top tips, workouts, and fitness advice.
If you try these workouts and love them, please tag me on social media. I really enjoy seeing you take these exercises and make them your own. That’s it for now. Until next time, thanks for reading/watching and train hard, y’all!
Recap:
When you’re looking to “tone” your muscles, it’s a combination of building strategic muscle and getting lean enough to see the muscle.
Of course, weight training will help with building the muscle – but it will also help with increasing metabolism and with burning fat.
Exercises in this workout:
1). Concentration curls
2). Incline push ups
3). French press
4). Cross-body curls
5). Kick backs
6). Partial curls (1x AMRAP/burnout set)
7). Diamond push ups (1x AMRAP/burnout set)
Know someone who might like this workout? Choose your social media option below and share it with them. I appreciate you!
